如何放大圖片
目前 Stable Diffusion 大多是用 512 或 768 pixls 去訓練生成的,如果產生的圖片尺寸設的太大,經常會有連體嬰或是多人出現。
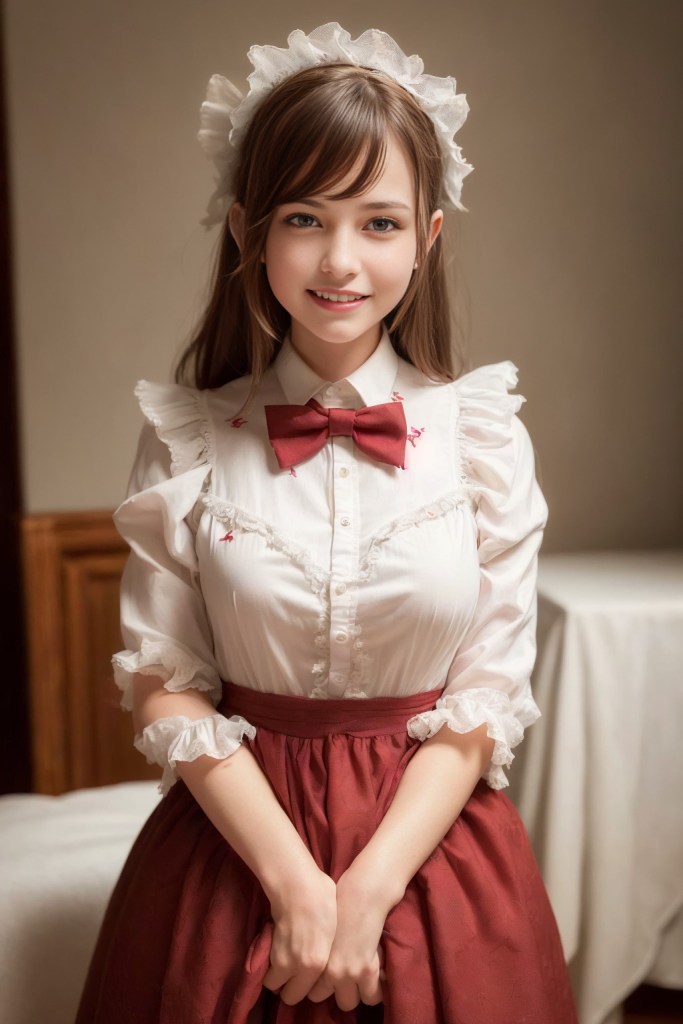
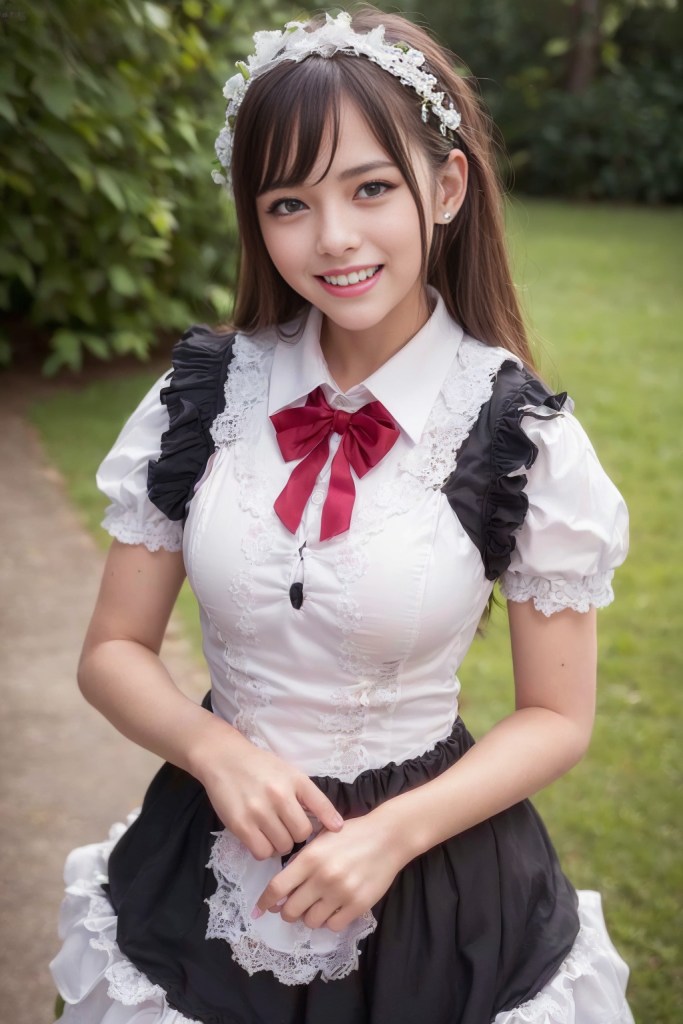
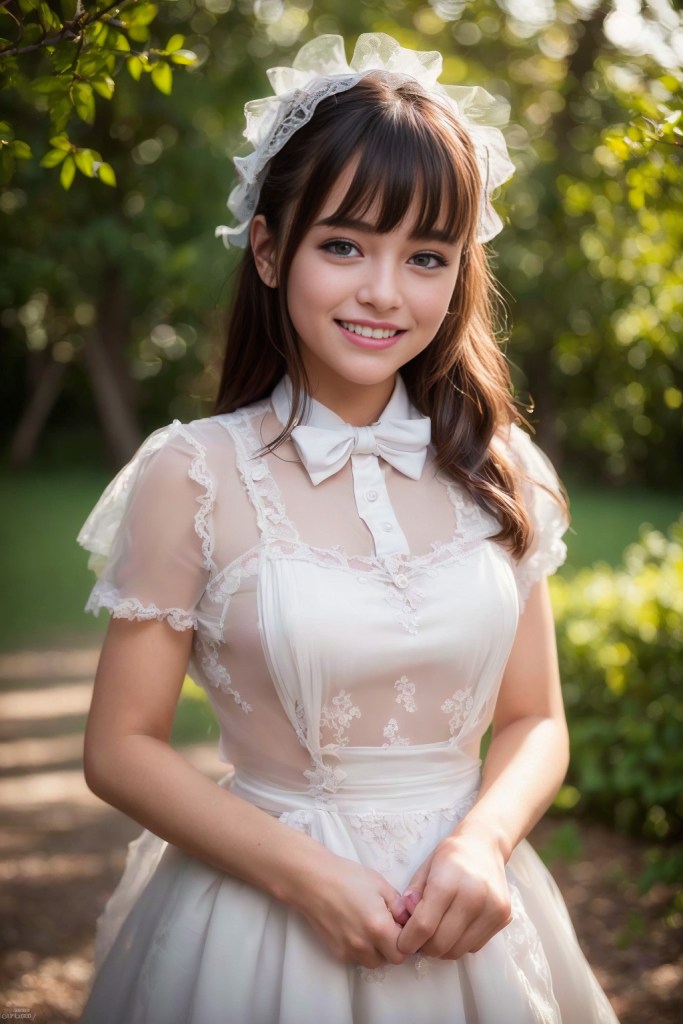
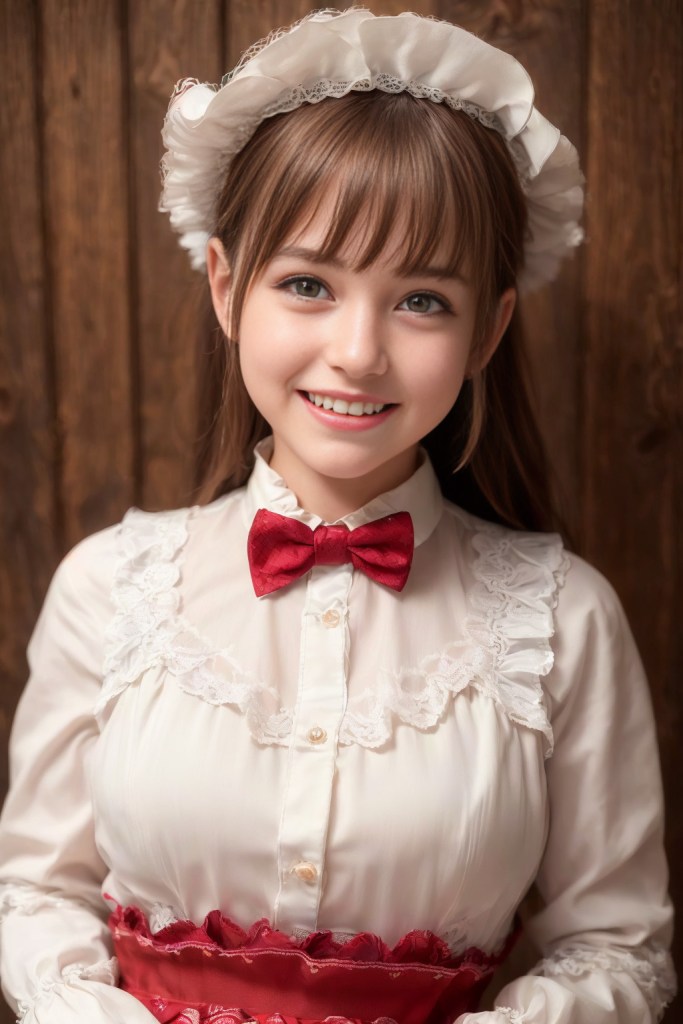
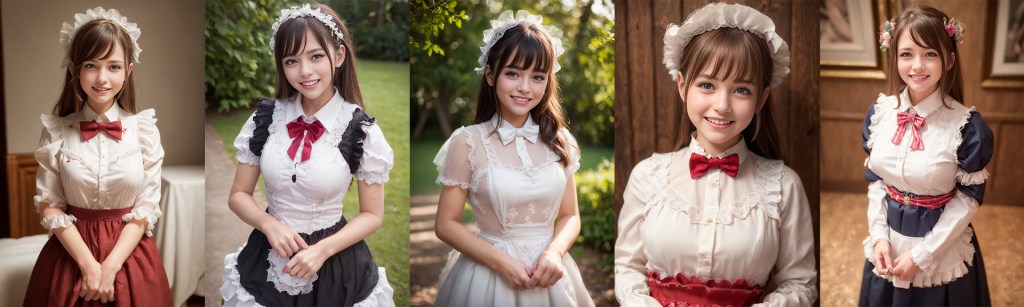
產生大圖最直接的方式就是使用 Hires. Fix (放大圖像) 功能,但是設定的不好也經常會有歪嘴、歪眼或鬥雞眼的產生,所幸 日本大神 Tasuku2023 直播談他的畫像生成技巧,分享他的設定造福了大家。經過試用效果非常完美
另外他也提到對於主角的描述咒語越簡單越好。不要寫的太長。他的咒語真正對於主角的描述只有三個 (smiling:1.2), bowtie, (detailed maid:1.2),其他都是對於圖片品質的描述
以下是他使用 Hires. Fix (放大圖像) 的設定

Sampling method :
Sampling method: DPM++ 2M Karras
Sampling steps
Sampling steps: 40
Hires.fix
Hires.fix: Upscale by
Upscale
Latent(bicubic antialiased)
Hires steps
Hires steps: 40
Denoising strength
Denoising strength: 0.5
Width Height
Width:512, Height:768
CFG Scale
CFG Scale:7
PositivePrompt
(8k, RAW photo, best quality, masterpiece:1.2), High detail RAW color photo, professional photograph, cowboyshot, (realistic, photo realistic:1.37), ((best quality)), 1 girl, cinematic light, (finerly detailed face:1.2), (masterpiece:1.5), (best quality:1.2), (smiling:1.2), (looking at viewer:1.2), bowtie, (detailed maid:1.2)
NegativePrompt
paintings, sketches, (worst quality:2), (low quality:2), (normal quality:2), lowres, normal quality, ((monochrome)), ((grayscale)), skin spots, acnes, skin blemishes, age spot, (outdoor:1.6), manboobs, (backlight:1.2), double navel, mutad arms, hused arms, neck lace, analog, analog effects, (sunglass:1.4), nipples, nsfw, bad architecture